ft_server 진행과정
한달 전 docker에대한 이해도가 부족할때 우분투 환경에서 ft_server프로젝트를 초반부 진행하였다. 하지만 진전없이 그 이후로 시간이 많이 지났다.
나에게 익숙한 운영체제는 Windows고 대부분의 사람들은 Windows를 사용한다. 또한 dockerfile은 어느 운영체제에서도 동일하게 작용하여야 하기 때문에 Windows환경에서 프로젝트를 끝낸후 Mac 환경에서 Dockerfile을 테스트 해 볼 생각이다. 이전의 경험을 통해 나중에 동일한 작업을 쉽게 하기 위해 과정을 남겨둔다.
프로젝트 내용
-
docker를 이용하여 간단한 웹 서버를 구축한다.
-
이 웹 서버는 Wordpress, phpMyAdmin, SQL database를 실행시킬 수 있어야한다.
-
repository root에는 Dockerfile을 제출하여야 하며 docker-compose는 사용할 수 없다.
- WordPress website를 위한 파일과 기타 파일은 ./srcs에 제출한다.
- 웹 서버는 nginx로 구축하며 하나의 컨테이너를 이용한다. OS는 debian buster이다.
- 웹서버는 동시에 Wordpress, phpMyAdmin, SQL database를 실행할 수 있어야 하며 SQL database는 WordPress 와 phpMyAdmin과 같이 작동하여야 한다.
- 웹 서버는 SSL protocol을 사용할 수 있어야 한다.
- 모두 끝났다면 url에 따라 올바르게 redirection이 되는지 확인한다.
- 서버는 autoindex로 실행되어야 하며 이는 비활성화 할 수 있어야 한다.
윈도우용 도커 설치
윈도우용/macOs용 도커는 stable버전과 edge버전으로 나뉘어 제공된다.
(edge버전에는 실험적 최신 기술이 담겨있다.)
https://hub.docker.com/editions/community/docker-ce-desktop-windows
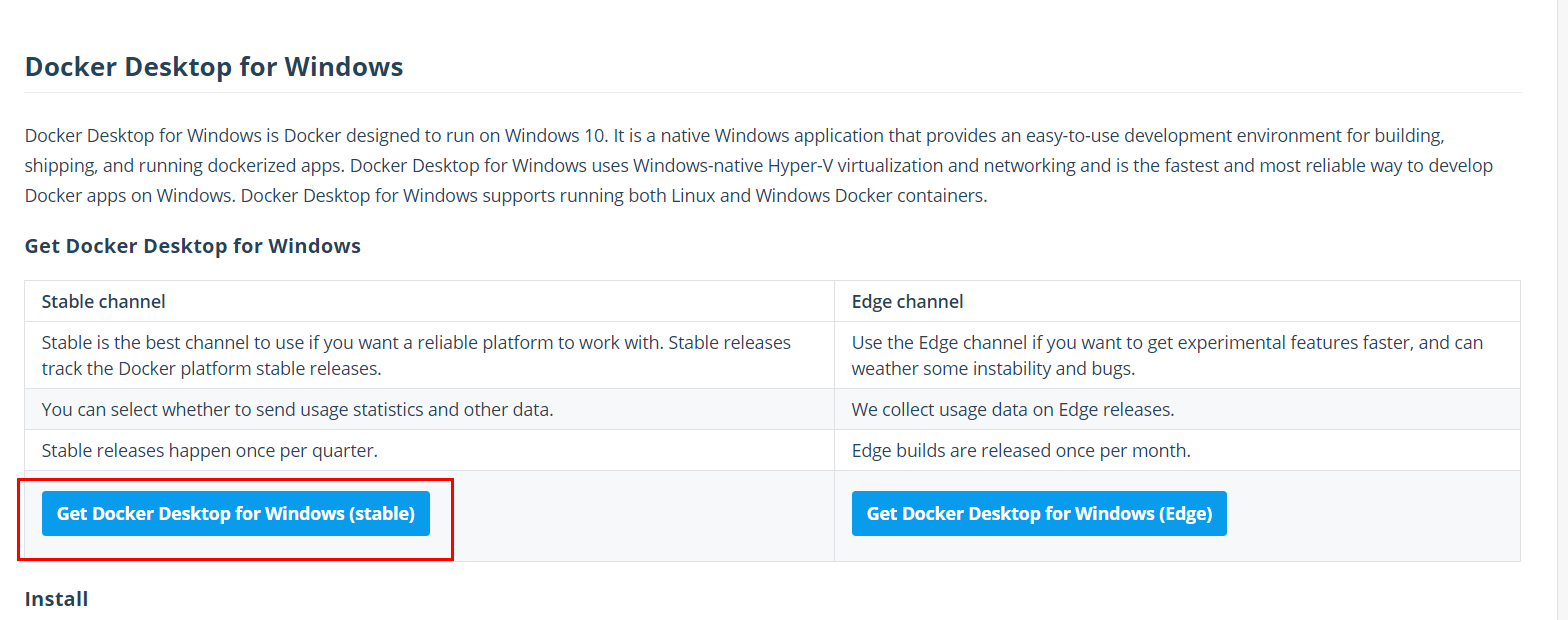
stable 버전을 다운로드 받는다.
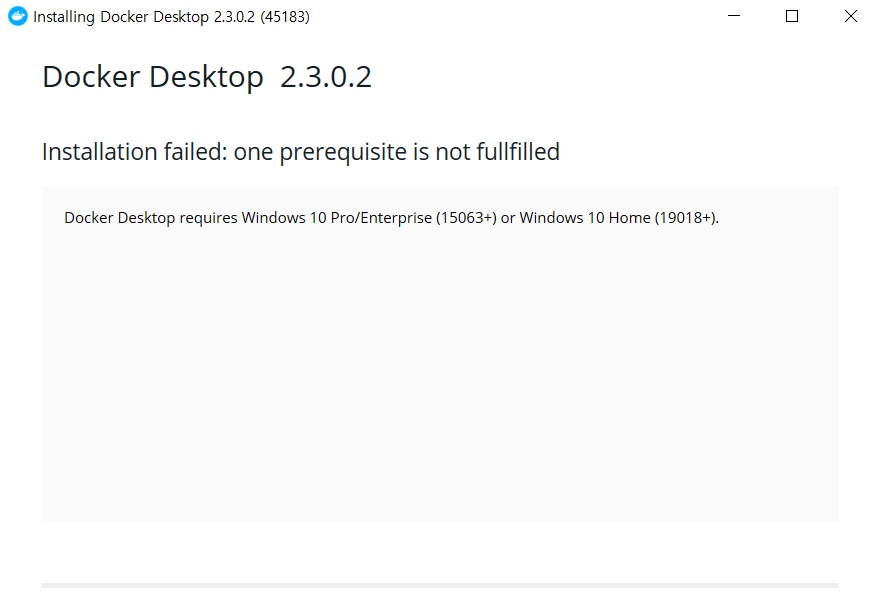
실패하였다.
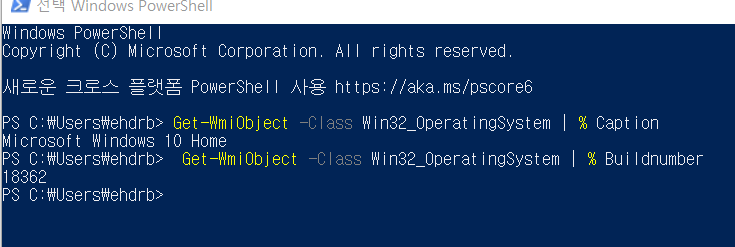
내 윈도우 버전을 확인해 본다. 내 윈도우 버전과 맞지 않는다.
윈도우 10 Enterprise/Professional 이전 버전의 윈도우 사용자는 툴박스를 이용해서 설치하여야한다. 기능은 동일하다.
https://docs.docker.com/toolbox/toolbox_install_windows/
왜 이렇게 귀찮게 버전별로 docker다운방법이 나누어져 있을까?
docker는 리눅스 기반의 프로그램이다. 윈도우에서 실행하기 위해선 가상화 기능이 필요하다.
윈도우 10 Enterprise/Professional 에서는 docker와 연동될수 있게 되어있다.
하지만 Home버전은 가상머신을 이용해야한다. 따라서
툴박스를 이용하여 윈도우 위에 리눅스 가상머신을 돌리고 여기서 도커엔진을 실행한다. 사실 듀얼부팅으로 리눅스가 깔려있어서 리눅스에서 해도 되지만 내 컴퓨터에서 리눅스는 조금 불안정하다.(갑자기 먹통이 된다..) 윈도우에서 진행해도 기능에 이상이 없으니 윈도우로 진행한다.
도커를 실행하려면 가상화를 해야하기 때문에 작업 관리자를 켜서 성능탭의 가상화가 “사용”으로 되어있는지 확인한다.
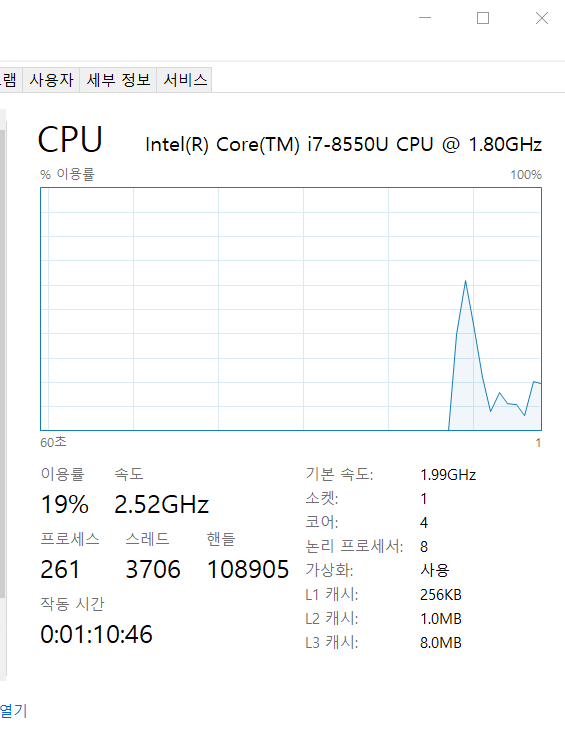
가상화를 사용으로 바꿔준다.
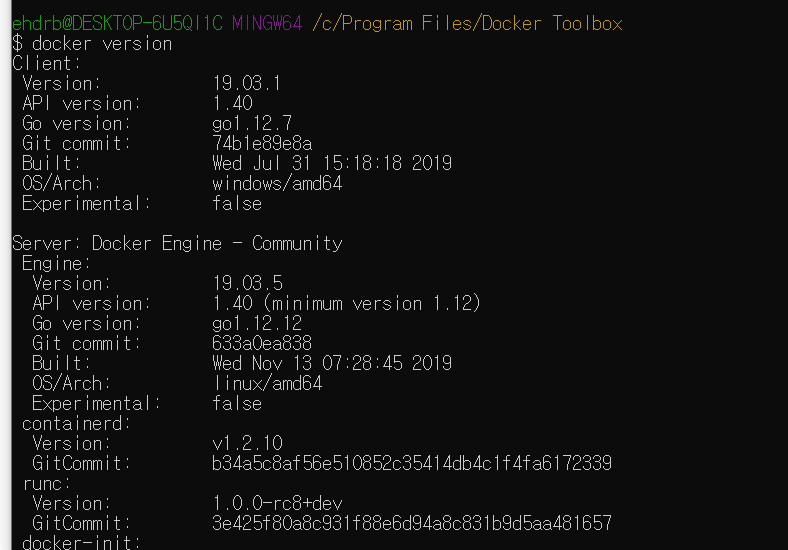
docker version으로 제대로 설치되었는지 확인한다.
Debianbuster 이미지 받아오기
docker image pull debian:buster
이를 도커파일로 작성하면
FROM debain:buster
이다. dockerfile의 첫 줄이 완성되었다.

이미지가 pull이 되었는지 확인한다.
이미지를 빌드하자

docker image build -t dochoi/debian:buster .
-t옵션을 주어 이름을 지정한다. 네임스페이스는 dochoi이며 현재폴더에 빌드한다.
빌드가 완료되었다 WARNING는 무시해도 된다.
Debianbuster 컨테이너 실행
docker container run -it -p 9000:80 dochoi/debian:buster
-it : docker 이미지 컨테이너의 bash 쉘을 실행 시킨다
-i: interactive-t: 가상 tty(터미널같은입력창) 할당
-p: 로컬호스트 9000 -> 컨테이너호스트 80 연결
Nginx설치
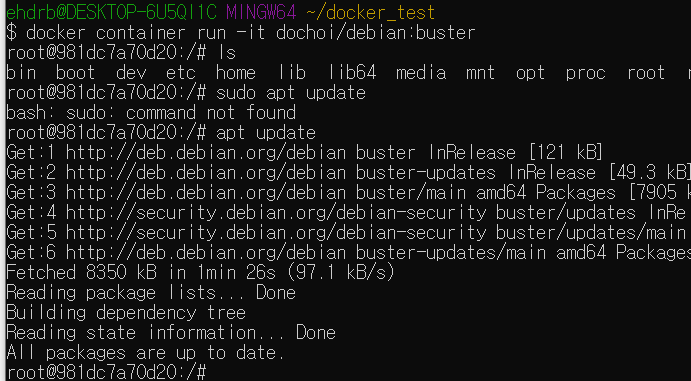
$ apt update
$ apt upgrade
$ apt install nginx
지금까지의 과정을 도커파일로 나타내보자 도커파일에선 apt를 apt-get으로 써야 워닝이 안뜬다
FROM debian:buster

# Install Nginx

RUN apt-get update
RUN apt-get upgrade
RUN apt-get install -y nginx
RUN 인스트럭션은 도커 이미지를 실행할 때 컨테이너 안에서 실행할 명령을 정의한다.
update와 upgrade는 패키지 최신버전이 있는지 확인(update)하고 업그레이드한다.
위에서의 과정과 동일하게 하며 -y옵션은 y/n에서 y를 선택한다는 뜻이다.
$ apt install vim
파일을 수정하기위해 vim을 설치해준다.
/etc/nginx/sites-available/default
이곳의 포트번호를 원하는대로 설정해준다 포트포워딩 9000->80으로 했었으므로 80을 그대로둔다
server {
        listen 80 default_server;
        listen [::]:80 default_server;

        # SSL configuration
        #
        # listen 443 ssl default_server;
        # listen [::]:443 ssl default_server;
        #
        # Note: You should disable gzip for SSL traffic.
        # See: https://bugs.debian.org/773332
        #
        # Read up on ssl_ciphers to ensure a secure configuration.
        # See: https://bugs.debian.org/765782
        #
        # Self signed certs generated by the ssl-cert package
        # Don't use them in a production server!
        #
        # include snippets/snakeoil.conf;

        root /var/www/html;

        # Add index.php to the list if you are using PHP
        index index.html index.htm index.nginx-debian.html;

        server_name _;

        location / {
                # First attempt to serve request as file, then
                # as directory, then fall back to displaying a 404.
                try_files $uri $uri/ =404;
        }

        # pass PHP scripts to FastCGI server
        #
        #location ~ \.php$ {
        #       include snippets/fastcgi-php.conf;
        #
        #       # With php-fpm (or other unix sockets):
        #       fastcgi_pass unix:/run/php/php7.3-fpm.sock;
        #       # With php-cgi (or other tcp sockets):
        #       fastcgi_pass 127.0.0.1:9000;
        #}

        # deny access to .htaccess files, if Apache's document root
        # concurs with nginx's one
        #
        #location ~ /\.ht {
        #       deny all;
        #}

}
접속해보자
$ nginx -t
$ service nginx start
$ service nginx stop
$ service nginx restart
nginx -t로 ini 파일에 에러가 있는지 확인한다.
나처럼 윈도우가 아닌 환경에선
127.0.0.1:9000으로 접속이 가능하지만
가상환경에선
localhost가 192.168.99.100
이기 때문에
192.168.99.100:9000으로 들어가 본다
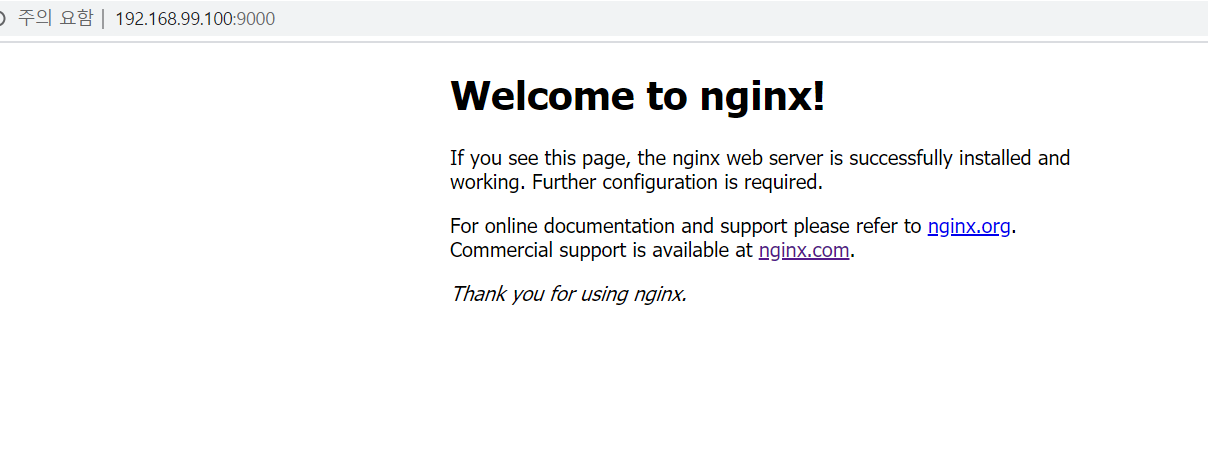
성공하였다.
mySQL설치
mysql을 설치해보자
데비안 10에서는 mariadb가 기본이다 하지만 과제에서 mysql을 설치하라고 하니
설치방법을 찾아봤다. 무수한 실패끝에
mariaDB를 설치하기로 하였다..
apt install -y mariadb-server

apt install -y php-mysql
phpmyadmin 설치
apt install wget -y
apt install php-fpm - y
wget https://files.phpmyadmin.net/phpMyAdmin/5.0.2/phpMyAdmin-5.0.2-all-languages.zip
mv phpMyAdmin-5.0.2-all-languages.zip /var/www/html/phpmyadmin/
phpmyadimn은 사이트에서 다운로드 받아야한다.
그러기 위해 wget을 설치하여 다운로드 받은 후 mv 명령어로 이동시켜준다.(unzip을 설치해주어야한다.)
mbstring + curl 설치
$ apt install php-mbstring

$ apt install php-curl
##
# You should look at the following URL's in order to grasp a solid understanding
# of Nginx configuration files in order to fully unleash the power of Nginx.
# https://www.nginx.com/resources/wiki/start/
# https://www.nginx.com/resources/wiki/start/topics/tutorials/config_pitfalls/
# https://wiki.debian.org/Nginx/DirectoryStructure
#
# In most cases, administrators will remove this file from sites-enabled/ and
# leave it as reference inside of sites-available where it will continue to be
# updated by the nginx packaging team.
#
# This file will automatically load configuration files provided by other
# applications, such as Drupal or Wordpress. These applications will be made
# available underneath a path with that package name, such as /drupal8.
#
# Please see /usr/share/doc/nginx-doc/examples/ for more detailed examples.
##

# Default server configuration
#
server {
        listen 80 default_server;
        listen [::]:80 default_server;

        # SSL configuration
        #
        # listen 443 ssl default_server;
        # listen [::]:443 ssl default_server;
        #
        # Note: You should disable gzip for SSL traffic.
        # See: https://bugs.debian.org/773332
        #
        # Read up on ssl_ciphers to ensure a secure configuration.
        # See: https://bugs.debian.org/765782
        #
        # Self signed certs generated by the ssl-cert package
        # Don't use them in a production server!
        #
        # include snippets/snakeoil.conf;

        root /var/www/html;

        # Add index.php to the list if you are using PHP
        index index.html index.htm index.nginx-debian.html index.php;

        server_name _;

        location / {
                # First attempt to serve request as file, then
                # as directory, then fall back to displaying a 404.
                try_files $uri $uri/ =404;
        }

        #pass PHP scripts to FastCGI server
        #
        location ~ \.php$ {
                include snippets/fastcgi-php.conf;
        #
        #       # With php-fpm (or other unix sockets):
                fastcgi_pass unix:/run/php/php7.3-fpm.sock;
        #       # With php-cgi (or other tcp sockets):
        #       fastcgi_pass 127.0.0.1:9000;
        }

        # deny access to .htaccess files, if Apache's document root
        # concurs with nginx's one
        #
        #location ~ /\.ht {
        #       deny all;
        #}
}


# Virtual Host configuration for example.com
#
# You can move that to a different file under sites-available/ and symlink that
# to sites-enabled/ to enable it.
#
#server {
#       listen 80;
#       listen [::]:80;
#
#       server_name example.com;
#
#       root /var/www/example.com;
#       index index.html;
#
#       location / {
#               try_files $uri $uri/ =404;
#       }
#}
/etc/nginx/sites-available/default
파일을 수정한다.
service nginx start

service mysql start

service php7.3-fpm start
$ mysql_secure_installation


Enter current password for root (enter for none): → 엔터

Set root password? [Y/n] → Y 이후 사용할 암호 입력

Remove anonymous users? [Y/n] → Y

Disallow root login remotely? [Y/n] → N

Remove test database and access to it? [Y/n] → N

Reload privilege tables now? [Y/n] → Y
$ mysql -u root -p

use mysql;

update user set plugin='' where user='root';

flush privileges;

quit;
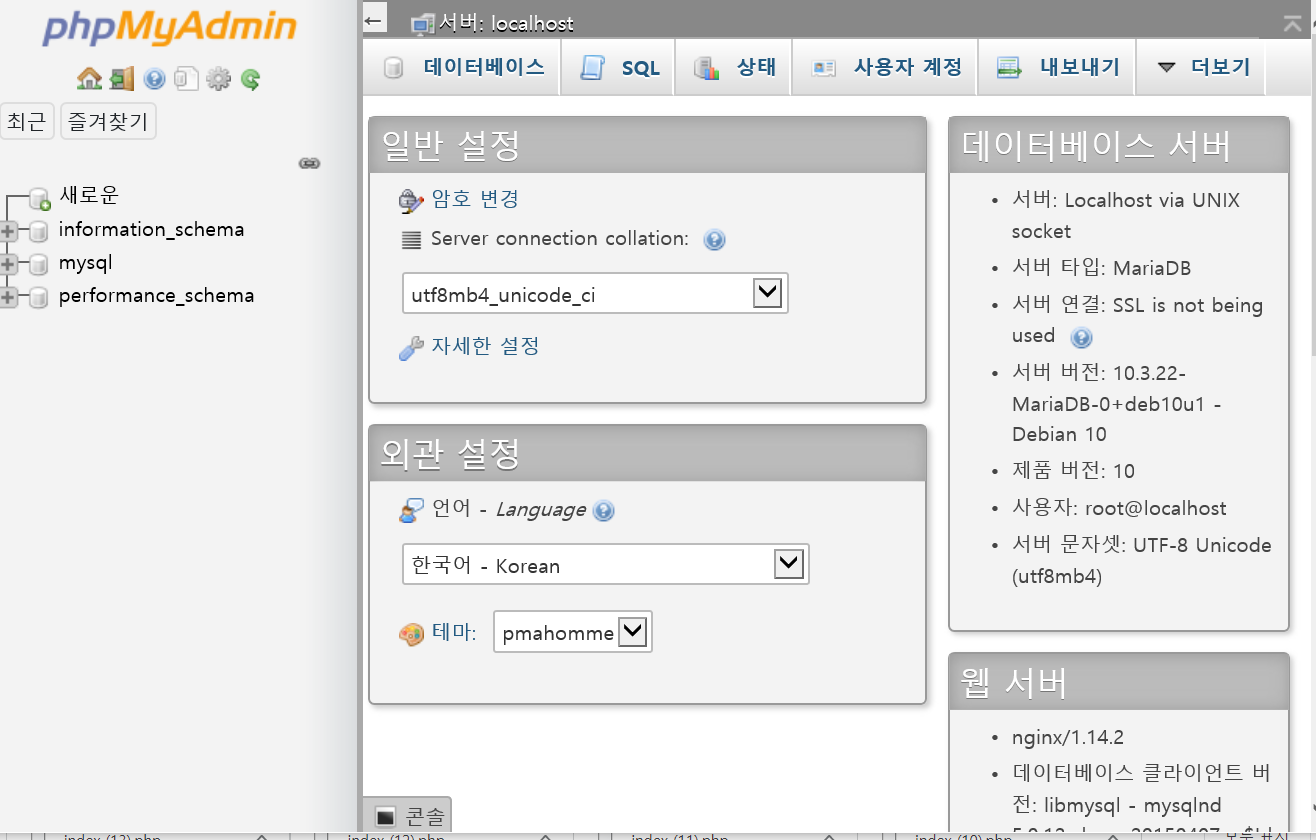
들어가졌다.
이로써 mysql, nginx, phpmyadmin 세팅이 끝났다.
wordpress를 설치
https://ko.wordpress.org/wordpress-4.9.7-ko_KR.zip
phpmyadmin 과 유사하게 해준다.
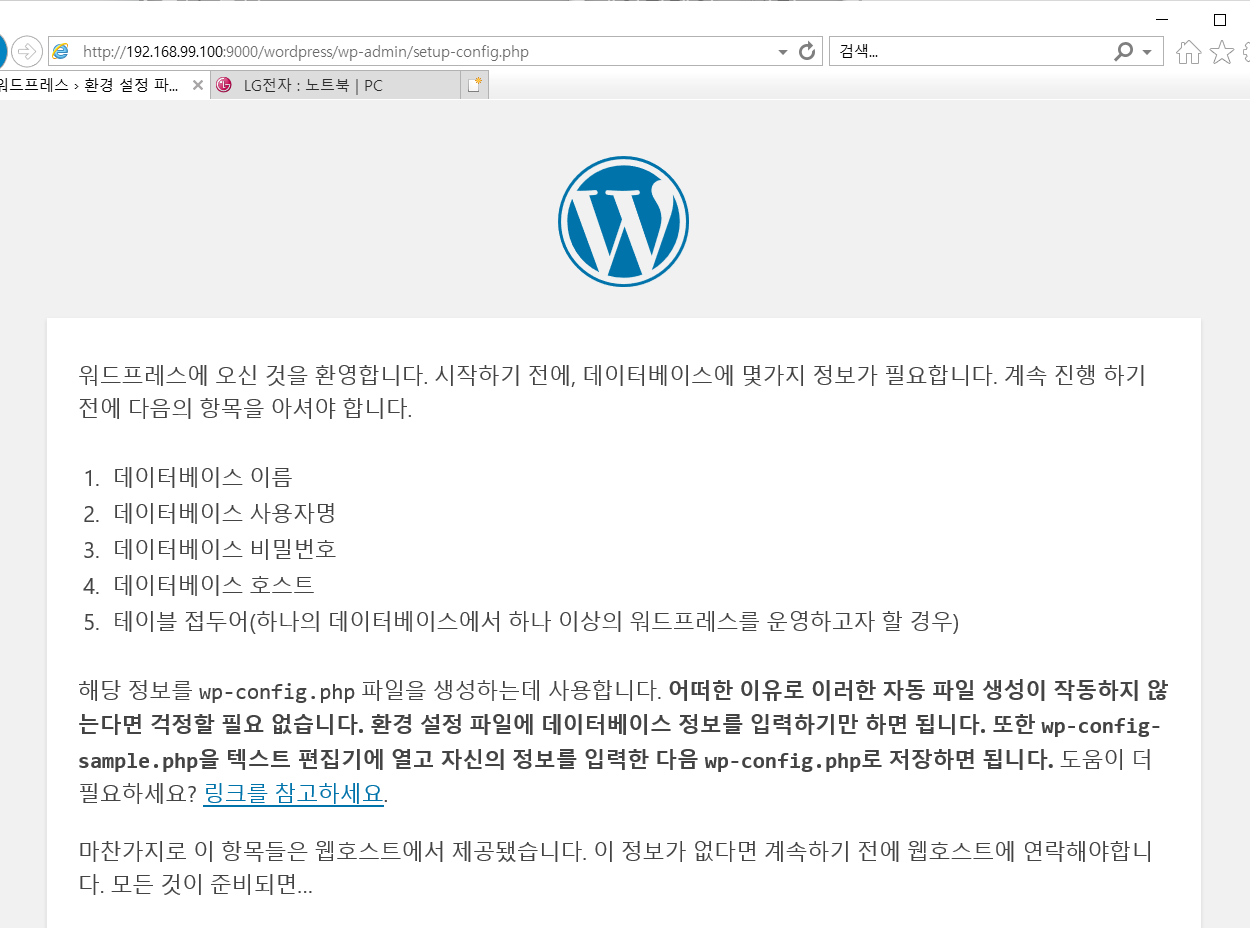
완료하였다. 이로써 wordpress까지 끝이 났다
Nginx에서 SSL(HTTPS) 보안 서버 설정하기
필요한 파일들
- Certificate (*.crt)
-
Private Key (*.key)
- RSA 기반의 private key 생성
cd /etc/pki/tls/private
openssl genrsa -des3 -out test.key 1024
- CSR(Certificate Signing Request) 생성
openssl req -new -key test.key -out test.csr
- Remove Passphrase from key
cp test.key test.key.enc
openssl rsa -in test.key.enc -out test.key
- 개인키를 보호하기 위해 Key-Derived Function 으로 개인키 자체가 암호화되어 있다.
하지만 SSL 에 사용하려는 키가 암호가 걸려있으면 httpd 구동때마다 pass phrase 를 입력해야 하므로 암호를 제거한다.
- self-signed 인증서 생성
openssl x509 -req -days 365 -in test.csr -signkey test.key -out test.crt
- 제대로 생성되었는지 확인을 위해 인증서의 정보를 출력해 본다.
openssl x509 -text -in test.crt
https://keithus.tistory.com/entry/OpenSSL-self-signed-certificate-%EC%83%9D%EC%84%B1
이곳을 참고하여 인증서를 만든다
-----BEGIN CERTIFICATE-----
MIICijCCAfMCFGZU6XpVe1X99h2MTO6XQLyuMr1lMA0GCSqGSIb3DQEBCwUAMIGD
MQswCQYDVQQGEwJLUjEOMAwGA1UECAwFU2VvdWwxDjAMBgNVBAcMBVNlb3VsMQ8w
DQYDVQQKDAZkb2Nob2kxDzANBgNVBAsMBmRvY2hvaTEPMA0GA1UEAwwGZG9jaG9p
MSEwHwYJKoZIhvcNAQkBFhJlaGRyYjM0NUBuYXZlci5jb20wHhcNMjAwNTIwMTQz
NTM1WhcNMjEwNTIwMTQzNTM1WjCBgzELMAkGA1UEBhMCS1IxDjAMBgNVBAgMBVNl
b3VsMQ4wDAYDVQQHDAVTZW91bDEPMA0GA1UECgwGZG9jaG9pMQ8wDQYDVQQLDAZk
b2Nob2kxDzANBgNVBAMMBmRvY2hvaTEhMB8GCSqGSIb3DQEJARYSZWhkcmIzNDVA
bmF2ZXIuY29tMIGfMA0GCSqGSIb3DQEBAQUAA4GNADCBiQKBgQDl2se34qCIY6Zg
t1qLaY2J5lG1dl6g/P+sQRg0RJpgzp+u9N0uJQAttZygFRm5QaDTKkabRQhR3Wux
8zTkzoGrEMnfT4jPvfoVIBHZ4yUjw3XoJpL4+A+s4ybyodnxxjYEuoYm6rPAk3eC
PBm414iOfaxm8gFhl5THAOO9R4AfwQIDAQABMA0GCSqGSIb3DQEBCwUAA4GBAN89
bvxxIEqtlRgMjBSITRvy8HtfbLdHMrG2j7mKI4oO7LGF7kZGS+FIlphWPveS8Tjm
49jjbSAdeKd6wqIRolFtAxfToNMIe5FRxTz0NjstE+msbSKLPz31HC4wy3phx8Hi
TQ704NGsvMjnsJZGhzBDrBM1k6+cc5YV5uVQnvPZ
-----END CERTIFICATE-----
dochoi@DESKTOP-6U5QI1C:/mnt/c/Users/ehdrb/docker_test$
nginx: [emerg] SSL_CTX_use_certificate(“/root/test.crt”) failed (SSL: error:140AB18F:SSL routines:SSL_CTX_use_certificate:ee key too small) nginx: configuration file /etc/nginx/nginx.conf test failed….
에러가 났다. 원인은 너무 작은 수의 키이다.
1024가아닌 2048로 만들어야 에러가 안난다…
http 를 https 로 리다이렉션한다
https://velog.io/@minholee_93/Nginx-HTTPS-SSL
참고..
defalut 파일에 location{} 속에 auto index on을 추가한다.

이곳에 적힌 파일이 location에없어야 auto index가 적용되니 수정해준다.
윈도우 스크립스작성시 유의사항
linux 에서 스크립트 실행할 때 /bin/sh^M: bad interpreter: No such file or directory 와 같은 에러 메시지가 나타날 때가 있다.
이것은 십중 팔구 윈도우에서 스크립트 파일을 만든 뒤, linux 에서 실행했기 때문에 나타나는 오류이다. 정확히는 줄 끝 (줄바꿈)을 의미하는 개행문자가 달라서 발생하는 문제인데 이것의 해결을 위해서는 다음의 방법 중 한 가지로 처리한다.
vi -b
vi 의 바이너리 모드로 들어가면 ^M 이라는 문자가 보인다. 이것을 지워주면 된다.
최종 도커파일 작성
mysql설정이 조금 번거롭다..
최종 세팅은 mysql id와 비밀번호를 만들어야 하기 때문에 shell script로 작성하기로 한다.
ENTRYPOINT나 COMMAND를 이용하면 docker가 실행되었다가 꺼지기 때문에 넣지 않기로 한다.
FROM debian:buster

# Install Nginx

RUN apt-get update
RUN apt-get upgrade
RUN apt-get install -y nginx
COPY ./srcs/default /etc/nginx/sites-available

# Install MySQL

RUN apt-get install -y mariadb-server
RUN apt-get install -y php-mysql

# Install phpmyadimn

RUN apt-get install -y wget
RUN apt-get install -y php-fpm
COPY ./srcs/phpMyAdmin-5.0.2-all-languages.zip .
RUN wget https://files.phpmyadmin.net/phpMyAdmin/5.0.2/phpMyAdmin-5.0.2-all-languages.zip
RUN mkdir /var/www/html/phpmyadmin
RUN apt-get install -y unzip
RUN unzip phpMyAdmin-5.0.2-all-languages.zip
RUN mv phpMyAdmin-5.0.2-all-languages/* /var/www/html/phpmyadmin/

## Install Word Press

RUN apt-get update
RUN apt-get install -y php-curl
RUN apt-get install -y php-gd
RUN apt-get install -y php-intl
RUN apt-get install -y php-mbstring
RUN apt-get install -y php-soap
RUN apt-get install -y php-xml
RUN apt-get install -y php-xmlrpc
RUN apt-get install -y php-zip
COPY ./srcs/wordpress-4.9.7-ko_KR.zip .
RUN unzip wordpress-4.9.7-ko_KR.zip
RUN mv wordpress /var/www/html/

##SSL copy
COPY ./srcs/test.key /root
COPY ./srcs/test.crt /root
COPY ./srcs/init_sql.sql /root
COPY ./srcs/wp-config.php /var/www/html/wordpress/
COPY ./srcs/firststep.sh /root
wget을 이용하면 다시 다운로드 받는게 느려서 이미 받아놓은 파일을 호스트에서 컨테이너로 복사하기로 하였다.
들어가서 firststep.sh 만 하면 모든게 완료된다.
이로써 ft_server 프로젝트가 마무리 되었다